Why solder sticks to the iron instead of the PCB pad and how to prevent it
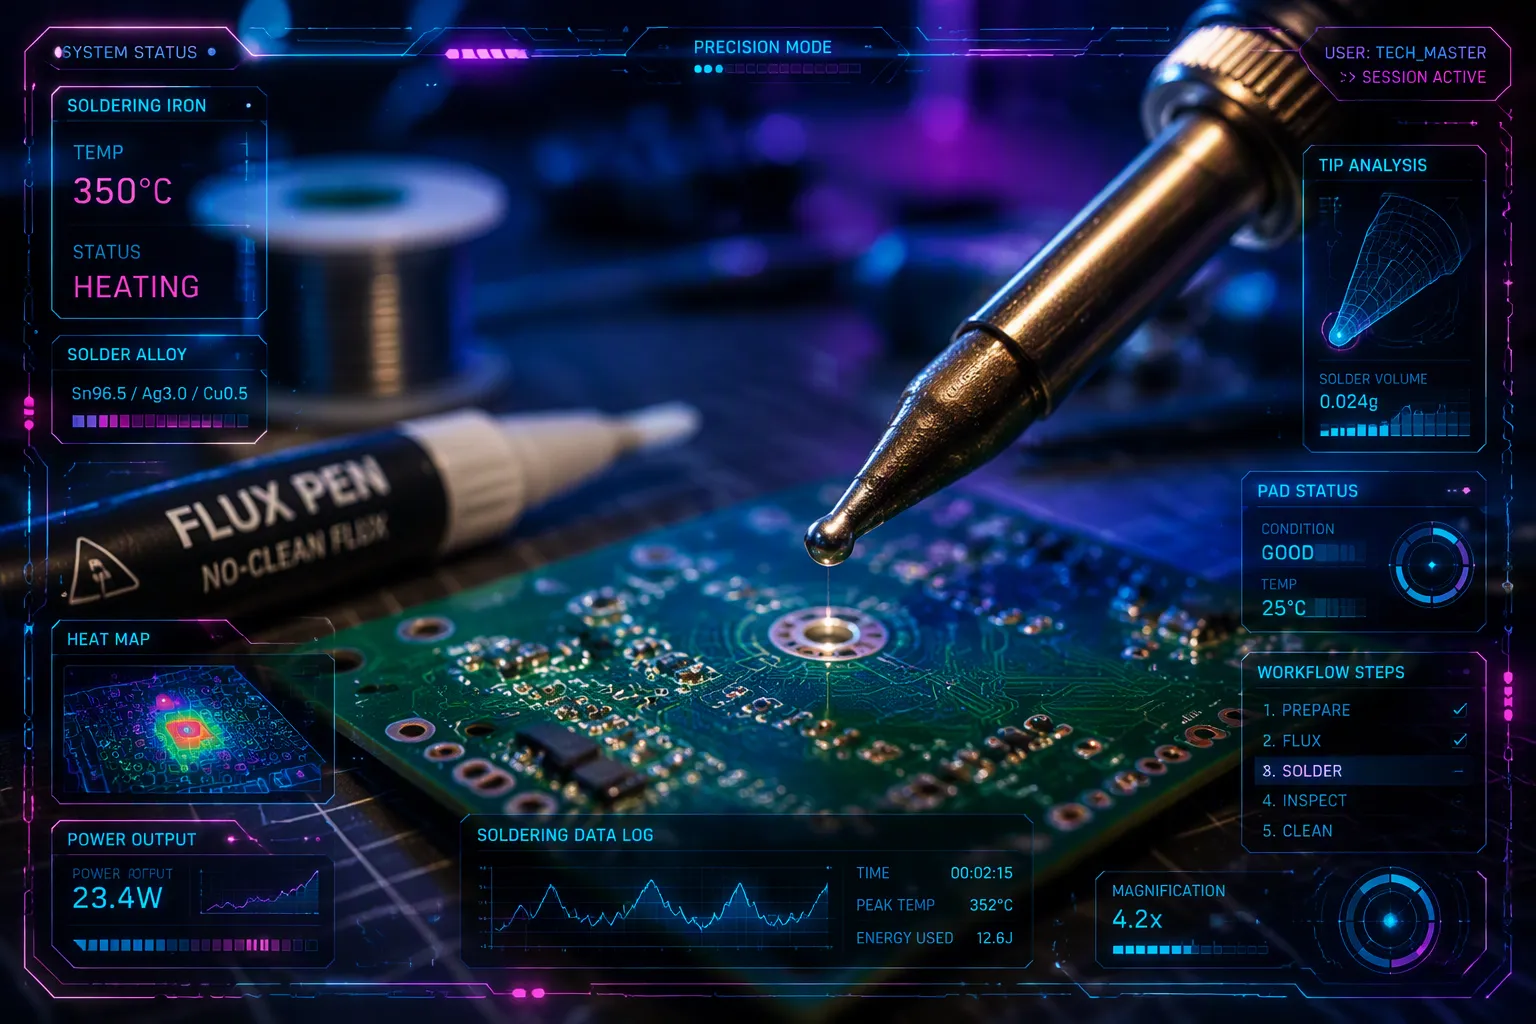
If you're a hobbyist or beginner, you've likely experienced this. You place your iron on the pad, but solder sticks to iron instead of flowing onto the PCB pad. This common frustration often stems from three main causes: an oxidized tip, insufficient temperature, or a lack of flux. The pad itself might be dirty or have a high thermal mass that pulls heat away. You don’t have to accept this problem. In this post, you’ll learn why this happens and get clear prevention steps. Let’s break down the real reasons behind this problem.
Key Takeaways
Keep your iron tip clean and tinned before every use to prevent oxidation.
Set your iron temperature between 350°C and 380°C for lead-free solder.
Apply flux to both the pad and the tip to remove oxides and improve wetting.
Clean the pad with isopropyl alcohol to remove contaminants that block solder flow.
Why Solder Sticks to Iron: Root Causes
Oxidation, Temperature, and Tip Condition
When solder sticks to iron, the first place to check is your soldering iron tip. An oxidized tip cannot transfer heat properly. The oxidation forms when the tip sits at high temperatures without a protective layer of solder. This process creates a layer of dark, crusty material on the tip surface. This layer acts as an insulator. It blocks heat from moving from the iron core to the pad. Instead of flowing heat to the PCB pad, the tip keeps the heat locked near itself. The solder melts on contact with the hot tip but never reaches the pad. You end up with a ball of solder clinging to the iron. This is why regular tip maintenance matters so much.
Temperature plays an equally critical role. For lead-free solder, you need the right heat level. The recommended range sits between 300°C and 350°C (572°F to 662°F). This range ensures proper melting and wetting of the solder. A practical approach starts with a baseline calculation. Set your iron approximately 100°C above the solder's melting point. For SAC alloys, that melting point sits around 317°C. Add a margin for iron tolerance. This results in a typical hand-soldering range of 330–350°C. Begin at 330°C and adjust based on joint quality. If you work below 350°C, the solder cannot wet the pad correctly. It stays on the tip instead of flowing where you need it. The solder simply does not have enough thermal energy to break the surface tension on the pad.
A large copper plane on your PCB adds another challenge. These planes act as massive heat sinks. They pull heat away from the pad faster than the iron can supply it. The pad stays too cold for the solder to wet properly. Solder sticks to iron because the pad never reaches the activation temperature needed for good flow. You need to compensate for this heat loss. Increase your iron temperature slightly or preheat the board to balance the thermal load.
Pad Contamination and Flux Insufficiency
The PCB pad itself can cause the problem. Contaminants on the pad prevent solder wetting. Common culprits include protective oxidation films, flux residues, oils, grease, dirt, and other residues. These contaminants create a barrier between the pad and the molten solder. The solder cannot bond with the pad surface. It beads up and stays on the tip. Even a clean-looking pad may have microscopic oxidation. This invisible layer stops the solder from making contact with the bare copper underneath.
Flux solves this problem through a chemical process. Flux contains activators such as organic acids or halide compounds. These activators remain inert at room temperature. They become chemically active when heated. They dissolve metal oxides at elevated temperatures. The activation typically occurs just below the solder's melting point. This timing ensures the pad is clean at the exact moment solder flows. As the oxides break down, flux pushes impurities away from the soldering area. It leaves a pristine surface. Simultaneously, the flux forms a protective liquid barrier over the metal. This barrier shields the surface from oxygen in the air until the solder solidifies. It prevents re-oxidation during the heating process. This dual action makes flux essential for reliable soldering.
Without enough flux, oxidation remains on the pad. The solder cannot wet the surface. It balls up on the tip instead. This is a classic case where solder sticks to iron due to flux insufficiency. Apply flux to both the pad and the tip. This ensures the surface stays clean and receptive. The solder then flows to the pad where it belongs. When you see solder beading up on a pad, oxidation is the likely cause. Applying suitable flux resolves this issue by restoring surface receptivity.
Prevention Techniques: Tinning, Temperature, and Cleaning
Proper Tinning and Temperature Control
Tinning your tip before every use creates a protective layer of solder that prevents oxidation. You wrap a small amount of solder around the tip before heating it. This initial coating shields the metal surface from oxygen during the warm-up phase. Without this step, the tip begins oxidizing immediately as it heats. The oxidation layer then blocks heat transfer, and you end up with solder that refuses to flow onto the pad.
You should also keep the tip tinned whenever the iron sits idle. Add fresh solder to the tip before turning off the iron. If you plan to pause for more than five minutes, apply a fresh coat of solder. This practice maintains a protective barrier that keeps oxidation from forming. A well-tinned tip heats a joint in about half a second. Another half second of solder flow completes the connection. The melted solder on the tip creates a heat bridge. This bridge transfers thermal energy from the iron to the pad rapidly and efficiently. When the tinning disappears, the oxidized surface becomes a poor transmitter of heat. The joint then fails to reach the temperature needed for proper wetting.
Temperature control directly affects tip oxidation and solder flow. For SAC305 lead-free solder, set your tip temperature starting at 350°C. Increase the temperature only if the joint fails to melt within two seconds. Your maximum target temperature should stay between 360°C and 380°C. Exceeding this range accelerates oxidation dramatically. The protective plating on modern tips degrades faster at higher temperatures. If your soldering station has fast thermal recovery, you can operate 20–30°C lower. This lower operating temperature extends tip life and reduces oxidation buildup.
Cleaning the Tip and Using Flux
Regular cleaning removes oxidation before it accumulates. Use a brass sponge or wound-wire cleaner for this task. Wipe the tip on the brass shavings to remove oxidation without lowering the temperature. A damp sponge causes thermal shock. The sudden temperature drop stresses the tip and accelerates wear. Brass wool cleans effectively while maintaining consistent heat.
The cleaning sequence matters. Melt fresh solder onto the tip first. Then wipe it with the brass sponge. This two-step process restores the tip's shine and removes stubborn oxidation. Apply flux to clean oxidized tips. For light oxidation, use solder with a flux core. The flux dissolves the oxide layer and prepares the surface for fresh tinning.
Never use mechanical abrasion on modern coated tips. Filing or sanding destroys the protective plating. Once damaged, the tip oxidizes rapidly and becomes unusable. A soldering station with sleep or idle mode helps prevent oxidation. Motion sensors or timed idle features lower the temperature when you set the iron down. This reduces oxidation during pauses in your work.
Flux application goes beyond the tip. Apply flux to both the pad and the tip before soldering. This dual application ensures both surfaces remain clean and receptive. The flux removes oxidation from the pad surface. It also creates a protective barrier that prevents re-oxidation during heating. When you see solder beading up on the tip instead of flowing to the pad, insufficient flux is often the culprit. This is the classic scenario where solder sticks to iron because the surfaces lack proper chemical preparation.
Periodic tip maintenance prevents long-term issues. Loosen the nut on your iron occasionally to clean flux residue from the connection point. This residue can build up and affect heat transfer. Regular maintenance keeps your iron performing at its best. Combine these practices—tinning, temperature control, brass wool cleaning, and generous flux application—and you eliminate most soldering frustrations.
Step-by-Step Soldering Guide
Iron and Pad Preparation
Start with a clean, tinned tip. Wipe the hot tip on a brass sponge to remove excess solder, flux, and buildup. Then feed fresh solder onto the working area. This tinning layer prevents oxidation and ensures proper heat transfer. If the tip looks heavily oxidized and solder won't wet it, use a tip tinner. This product contains aggressive flux that removes stubborn oxidation. Clean off the excess tip tinner, then re-tin with fresh solder.
Set your iron temperature between 350°C and 380°C for lead-free solder. Begin at 350°C and adjust based on joint quality. A tip that sits too cold cannot melt solder efficiently, which leads to poor wetting.
Prepare the pad next. Clean the PCB pad mechanically or with isopropyl alcohol (IPA). IPA dissolves light oils, fingerprints, flux residues, and carbon deposits. Use a 90% or higher concentration to avoid corrosion. Apply flux to the pad after cleaning. This chemical layer removes oxidation and prevents re-oxidation during heating.
For boards with large copper planes, preheat the board. These planes act as heat sinks and pull heat away from the pad. A preheated board balances the thermal load and helps the pad reach the correct temperature.
Cleaning matters more than tinning. If you have trouble with joints, check your solder's flux core. Tin the tip when it looks oxidized after cleaning. Leave a decent coating of solder on the tip after finishing a joint. Avoid leaving visible flux on the tip, as it eats the plating and oxidizes the solder.
Applying Solder and Troubleshooting
Position the iron tip on the joint where the component lead meets the PCB pad. Heat both surfaces for 2-3 seconds. This brings the lead and pad up to temperature together. Then apply solder wire to the joint, not the iron tip. The solder melts and flows evenly, forming a small volcano-shaped joint. Remove the solder wire first, then the iron. Let the joint cool naturally for about 5 seconds.
If solder sticks to iron during this process, stop and troubleshoot. Re-clean the tip with a brass sponge and re-tin it. Clean the pad again with IPA and apply fresh flux. Increase the iron temperature by 10-20°C if the joint fails to melt within two seconds. Add more flux if the solder beads up on the pad surface.
A good joint appears shiny and smooth. A dull, grainy joint indicates insufficient heat or contamination. Practice this sequence repeatedly. Each attempt builds muscle memory and improves your technique.
You now understand the three primary culprits behind poor soldering results. An oxidized tip blocks heat transfer. Low temperature prevents proper wetting. Insufficient flux leaves contaminants on the pad surface. Each issue has a straightforward fix.
Keep your tip clean and tinned before every session. Set your iron between 350°C and 380°C for lead-free solder. Apply flux generously to both pad and tip. These habits prevent most soldering failures.
Practice remains essential. Each joint you solder builds muscle memory and judgment. You will learn to feel when the pad reaches temperature. You will recognize when flux needs reinforcement.
Next time you solder, apply these tips—you'll see solder flowing to the pad where it belongs.
FAQ
Why does solder ball up on the pad instead of flowing?
Oxidation or contamination on the pad prevents wetting. Apply flux to remove the oxide layer. Clean the pad with isopropyl alcohol first. This restores the surface for proper bonding.
How often should I clean the soldering iron tip?
Clean the tip after every few joints using a brass sponge. Re-tin immediately after cleaning. Maintain a protective solder layer on the tip whenever the iron sits idle longer than five minutes.
Can I use a wet sponge instead of brass wool?
A wet sponge causes thermal shock. The sudden temperature drop stresses the tip and accelerates wear. Brass wool cleans effectively while maintaining consistent heat. Use brass wool for best results.
What temperature should I set for lead-free soldering?
Start at 350°C for SAC305 lead-free solder. Increase only if the joint fails to melt within two seconds. Stay between 350°C and 380°C for best results.
Why does my soldering iron tip turn black quickly?
The tip oxidizes when exposed to high heat without a protective solder layer. Oxidation forms a dark crust that blocks heat transfer. Regular tinning prevents this buildup.
See Also
Impact Of Solder Paste Quality On PCB SMT Soldering Performance
Types Of Solder Paste And Component Variations In SMT Assembly
Reasons For Component Detachment During Wave Soldering In SMT
Frequent SMT Board Assembly Defects And Prevention Strategies
