Through Hole PCB Assembly Explained Step by Step
You build a reliable printed circuit board by following each step in the through hole pcb assembly process. Careful assembly ensures strong electrical connections on your pcb. Trust LTPCBA for precise through hole assembly services. Their experience in through hole assembly services helps you achieve dependable results every time.
Key Takeaways
Through-hole technology creates strong connections by inserting component leads into drilled holes on the PCB, making it ideal for durable applications.
Proper preparation, including inspecting the PCB and organizing components, is crucial for avoiding mistakes and ensuring a successful assembly.
Regular cleaning of the PCB and components helps achieve strong solder joints, preventing future issues and enhancing reliability.
Through Hole PCB Assembly Overview
What Is Through-Hole Technology
You use through-hole technology when you want to mount electronic components on a printed circuit board by inserting their leads into holes drilled through the board. This method creates strong mechanical bonds and reliable electrical connections. You often see this technology in applications that need durability, such as industrial equipment or military devices. The process involves placing each component lead through the hole and then soldering it to pads on the opposite side. This technique has been a standard in the electronics industry for decades. You can easily identify through-hole components because their leads stick out from the board.
Tip: When you work with through hole pcb assembly, you get a robust connection that stands up to stress and vibration.
Advantages of Through-Hole Components
You gain several benefits when you choose through-hole components for your printed circuit assembly. These parts offer strong physical connections, which makes them ideal for prototypes or products that need frequent testing. You can also replace or adjust components more easily during the assembly process. Through-hole parts handle higher power and heat better than many surface-mount parts. You often use them in power supplies, audio equipment, and other demanding applications. When you build a pcb with through-hole parts, you improve reliability and make repairs simpler.
Advantage | Benefit to You |
|---|---|
Strong mechanical bond | Withstands physical stress |
Easy to replace | Simplifies troubleshooting |
Handles high power | Suitable for demanding tasks |
You see through-hole technology as a key part of printed circuit assembly, especially when you need strength and flexibility.
Tools and Materials for PCB Assembly
Essential Tools
You need the right tools for successful pcb assembly. The most important tool is the soldering iron. You use a soldering iron to heat and melt solder, which creates strong connections between through-hole components and the pcb. You also need wire cutters to trim excess leads after soldering. Tweezers help you handle small parts. A multimeter lets you check electrical connections. You use a desoldering pump to remove solder if you need to fix mistakes. You should keep a magnifying glass nearby to inspect your work.
Tip: Always keep your soldering iron clean. A dirty tip can cause weak joints in your printed circuit board.
Common Through-Hole Components
You work with many types of through-hole components during pcb assembly. Resistors control current flow. Capacitors store and release energy. You use diodes to direct current in one direction. Transistors amplify signals. Integrated circuits perform complex functions. You also see connectors, switches, and LEDs. Each through-hole component has long leads that fit into holes on the pcb. You select components based on your assembly needs and the design of your printed circuit board.
Component | Function |
|---|---|
Resistor | Limits current |
Capacitor | Stores energy |
Diode | Controls direction |
Transistor | Amplifies signals |
IC | Complex operations |
Safety Precautions
You must follow safety rules during pcb assembly. Always wear safety glasses to protect your eyes from solder splashes. You should work in a well-ventilated area because soldering iron fumes can be harmful. Never touch the hot tip of the soldering iron. You unplug the soldering iron when you finish. Keep your workspace organized to avoid accidents. You check your tools before starting assembly to make sure everything works properly.
Note: Safety helps you avoid injuries and keeps your pcb assembly process smooth.
Step by Step Guide: Preparing for Assembly
Before you start the through hole pcb assembly, you need to prepare your workspace and materials. Careful preparation helps you avoid mistakes and improves the quality of your printed circuit board. You follow this step by step guide to make sure every part of the process runs smoothly. LTPCBA pays close attention to detail during preparation, which leads to reliable results and strong quality assurance.
PCB Inspection
You begin by inspecting the pcb. Look for any visible defects, such as scratches, broken traces, or missing pads. Check that all drilled holes match the component layout. Use a magnifying glass to spot small issues. If you find any problems, mark them and decide if you need to repair or replace the board. Proper inspection prevents assembly errors and saves time later.
Tip: Always compare the pcb to the design files before you start assembly. This step helps you catch layout mistakes early.
Component Organization
You organize your components before you begin assembly. Sort each part by type, value, and placement location. Use labeled trays or containers to keep everything in order. Create a checklist to track each component as you prepare to mount it. This organization helps you work faster and reduces the chance of placing the wrong part. LTPCBA uses automated systems to sort and verify components, which improves accuracy and efficiency.
Component Type | Storage Method | Placement Area |
|---|---|---|
Resistors | Tray | Zone 1 |
Capacitors | Box | Zone 2 |
ICs | Antistatic Bag | Zone 3 |
You check each component against the bill of materials. This step ensures you have the correct parts for your assembly.
Cleaning Procedures
You clean the pcb and components before you start the process. Dust, oil, and residue can cause poor solder joints. Use isopropyl alcohol and a lint-free cloth to wipe the board. Clean each component lead if you see oxidation or dirt. Make sure the workspace stays free of debris. LTPCBA follows strict cleaning procedures to guarantee high-quality assembly and long-lasting connections.
Note: Clean surfaces help solder flow smoothly and create strong bonds.
You finish preparation by reviewing your checklist and confirming that everything is ready for assembly. Careful layout and preparation set the foundation for a successful build.
Inserting Through-Hole Components
Placement Techniques
You start the through hole pcb assembly by placing each component into its designated hole on the printed circuit board. You check the orientation of every part, especially polarized components like diodes and electrolytic capacitors. You match the component leads with the correct holes, following the assembly guide or silkscreen markings. You use tweezers for small parts and your fingers for larger ones. You make sure each lead goes straight through the hole without bending. You avoid forcing components, which can damage the pcb or the part itself.
Tip: Double-check the value and type of each component before you insert it. This step helps you prevent costly mistakes.
You use the plated through-hole component insertion method for most parts. You push the leads through the holes until the component sits flush against the board. You keep the workspace organized so you can quickly find the next part. You repeat this process for all components, working from smallest to largest.
Step | Action |
|---|---|
Identify location | Read silkscreen or guide |
Check orientation | Align leads correctly |
Insert component | Push leads through holes |
Confirm placement | Ensure flush fit |
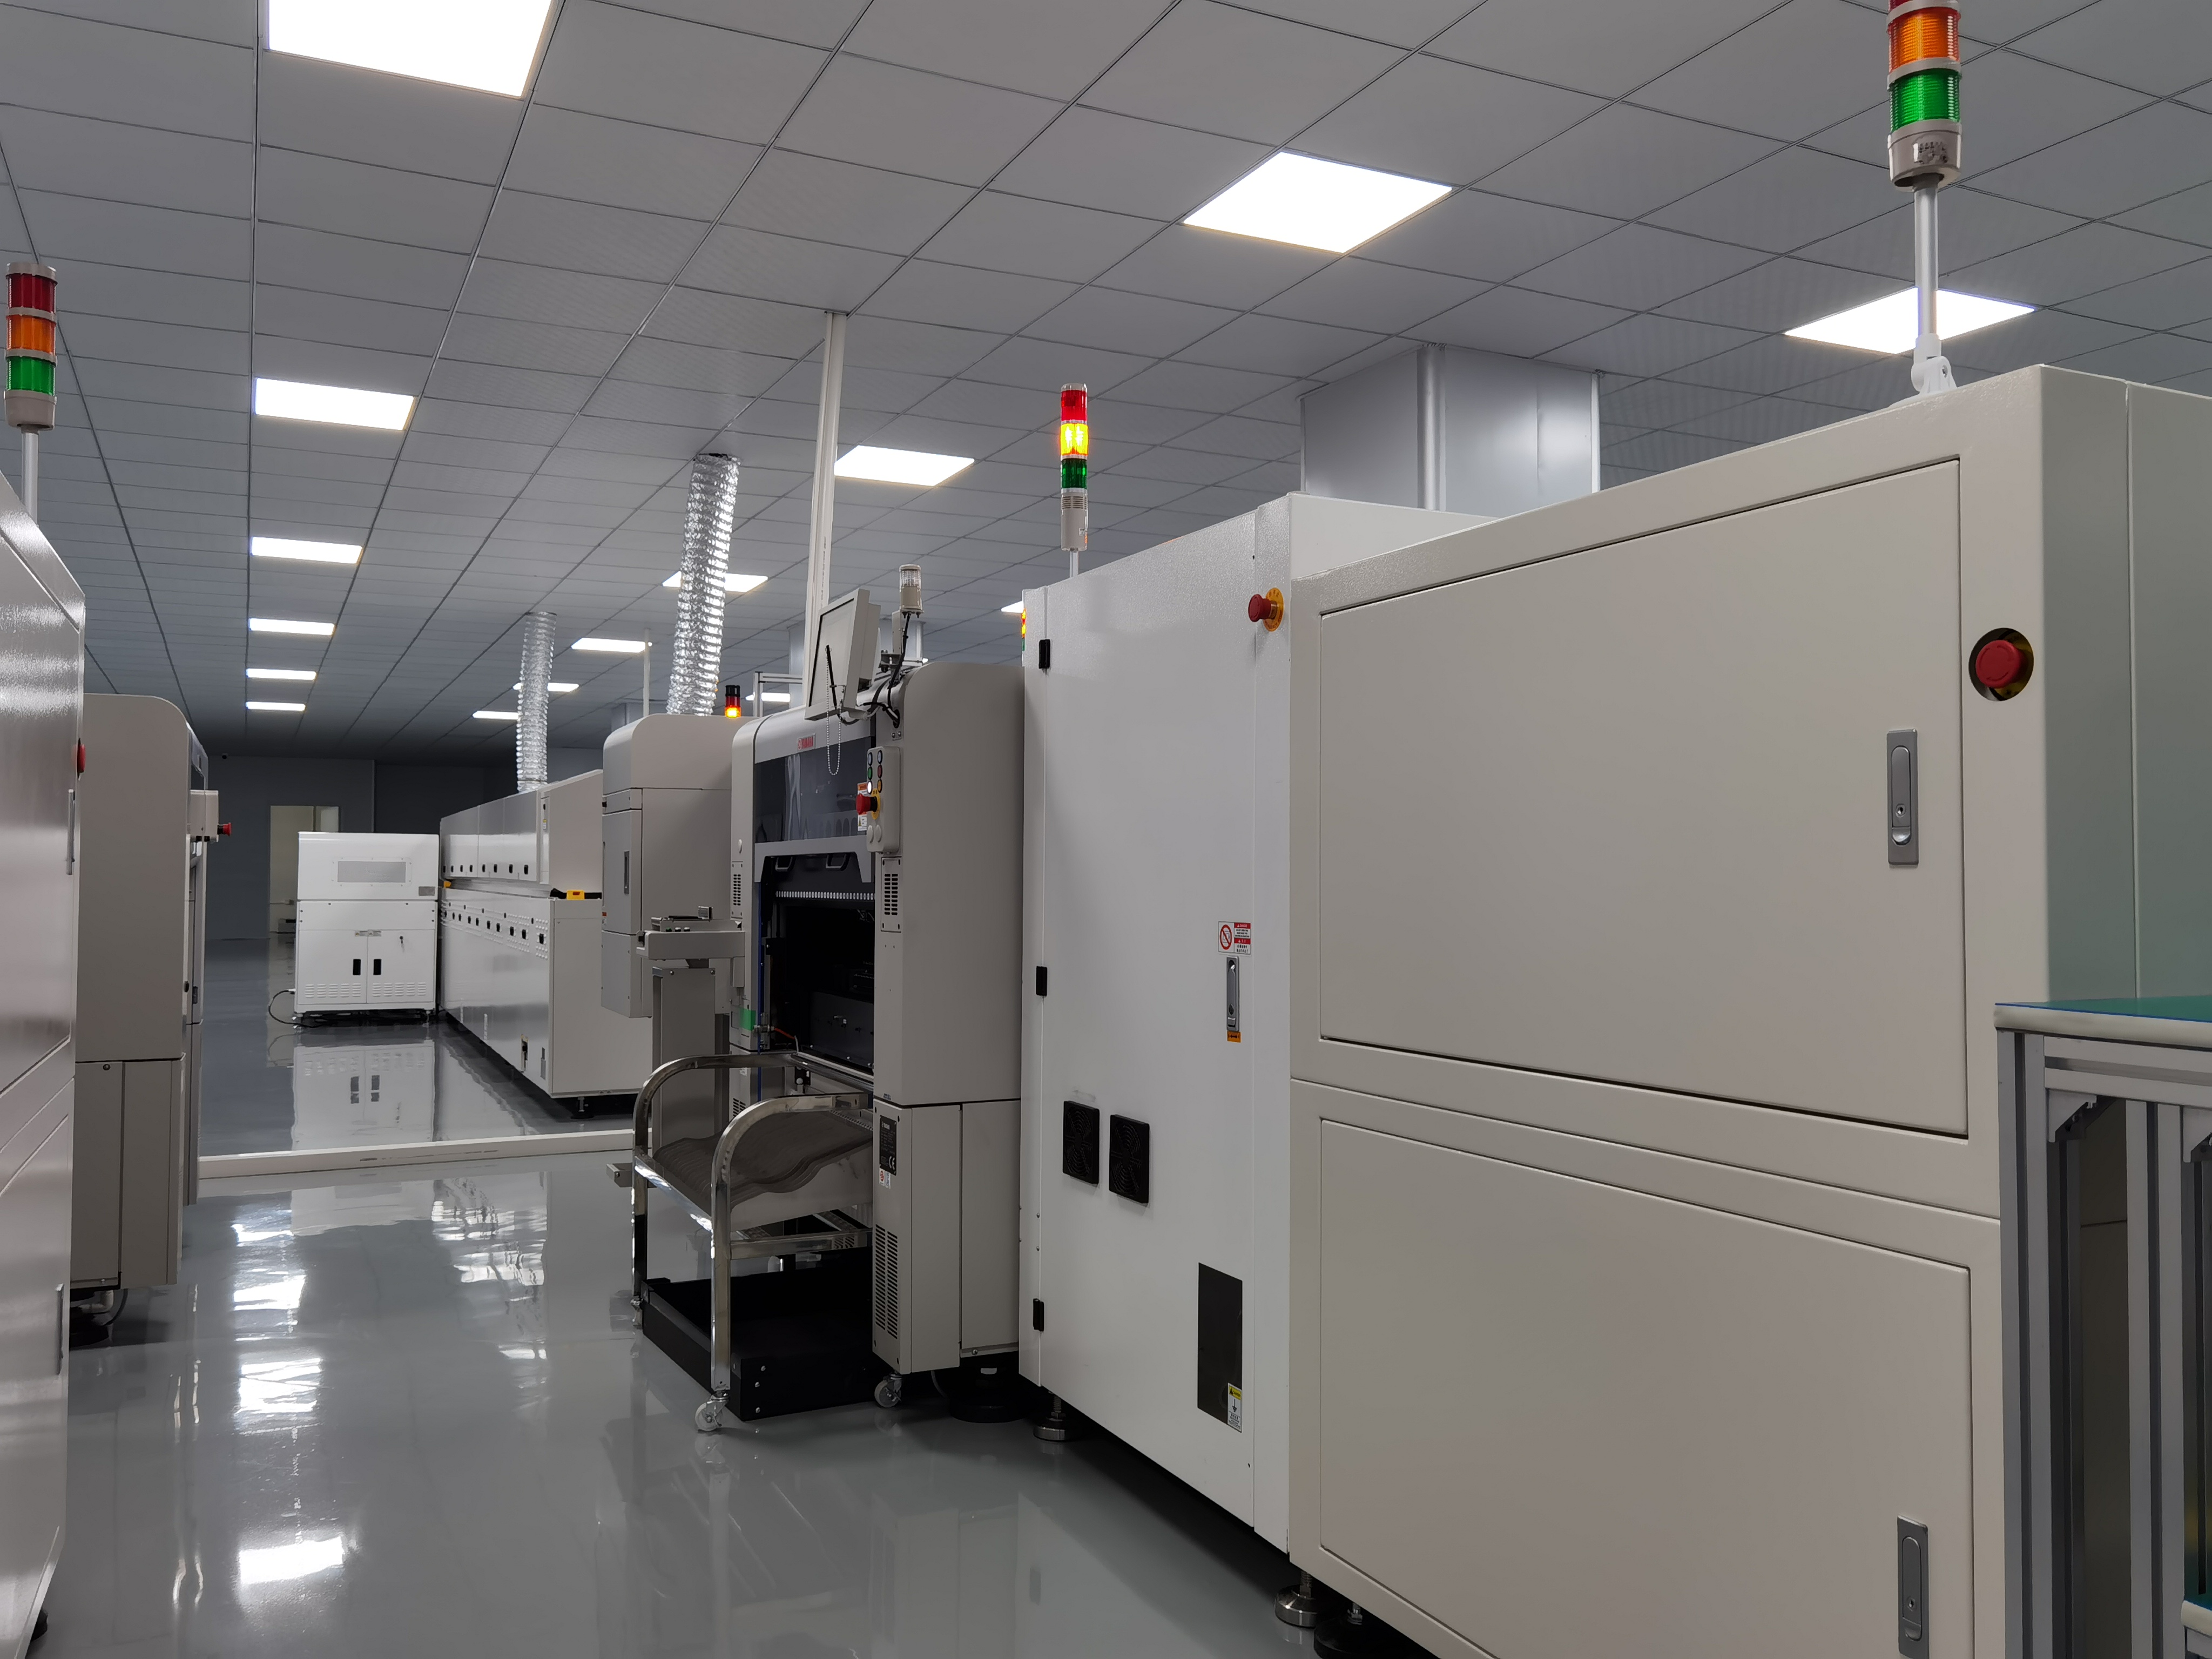
Using Automation at LTPCBA
You benefit from advanced automation when you choose LTPCBA for your assembly needs. LTPCBA uses automated machines to handle high-volume plated through-hole component insertion. These machines pick and place components with precision, reducing human error. You see faster turnaround times and consistent quality in every pcb. Automation also helps with complex boards that require many components.
You rely on LTPCBA’s expertise to ensure each printed circuit board meets strict standards. Their automated systems verify placement and orientation before soldering begins. You get reliable results whether you need a prototype or a large production run.
Note: Automation at LTPCBA improves efficiency and guarantees accuracy for every assembly project.
Soldering in Through Hole PCB Assembly
Manual Soldering
You often start the soldering process by using a soldering iron. This tool lets you heat the metal leads and pads on the printed circuit board. You touch the tip of the iron to the joint, then feed solder wire into the connection. This method works well for small batches or repairs. You control the heat and the amount of solder, which helps you create strong joints. When soldering through-hole components by hand, you check each joint for a shiny, smooth finish.
Tip: Keep your soldering iron clean for better heat transfer and reliable results.
Wave Soldering
You use wave soldering for larger production runs. In this process, you place the pcb with inserted components on a conveyor. The board passes over a wave of molten solder. The solder touches the exposed leads and pads, creating many connections at once. This soldering technique saves time and gives you consistent results. You often see wave soldering in factories that build many boards quickly.
Selective Soldering
You choose selective soldering when you need to solder only certain areas of the pcb. This method uses a small nozzle to apply solder to specific joints. You avoid heating sensitive parts or damaging nearby components. Selective soldering works well for complex assemblies with mixed technologies. You get precise control over the soldering through-hole components process.
Trimming Leads
After soldering through-hole components, you trim the extra length from each lead. You use flush cutters to snip the leads close to the board. This step prevents shorts and keeps your assembly neat. Always check that trimmed leads do not touch other parts of the pcb.
Note: Proper trimming improves safety and the appearance of your finished board.
Cleaning and Inspection
Removing Flux Residue
You need to clean your pcb after soldering. Flux residue can cause corrosion and affect electrical performance. Use isopropyl alcohol and a soft brush to remove leftover flux from the board. Wipe the surface gently until it looks clean. Some flux types require special cleaners, so check the product label before you start. Clean solder joints help you avoid future problems and keep your assembly reliable.
Tip: Always clean the board before you move to the next step. This habit improves the quality of your final inspection.
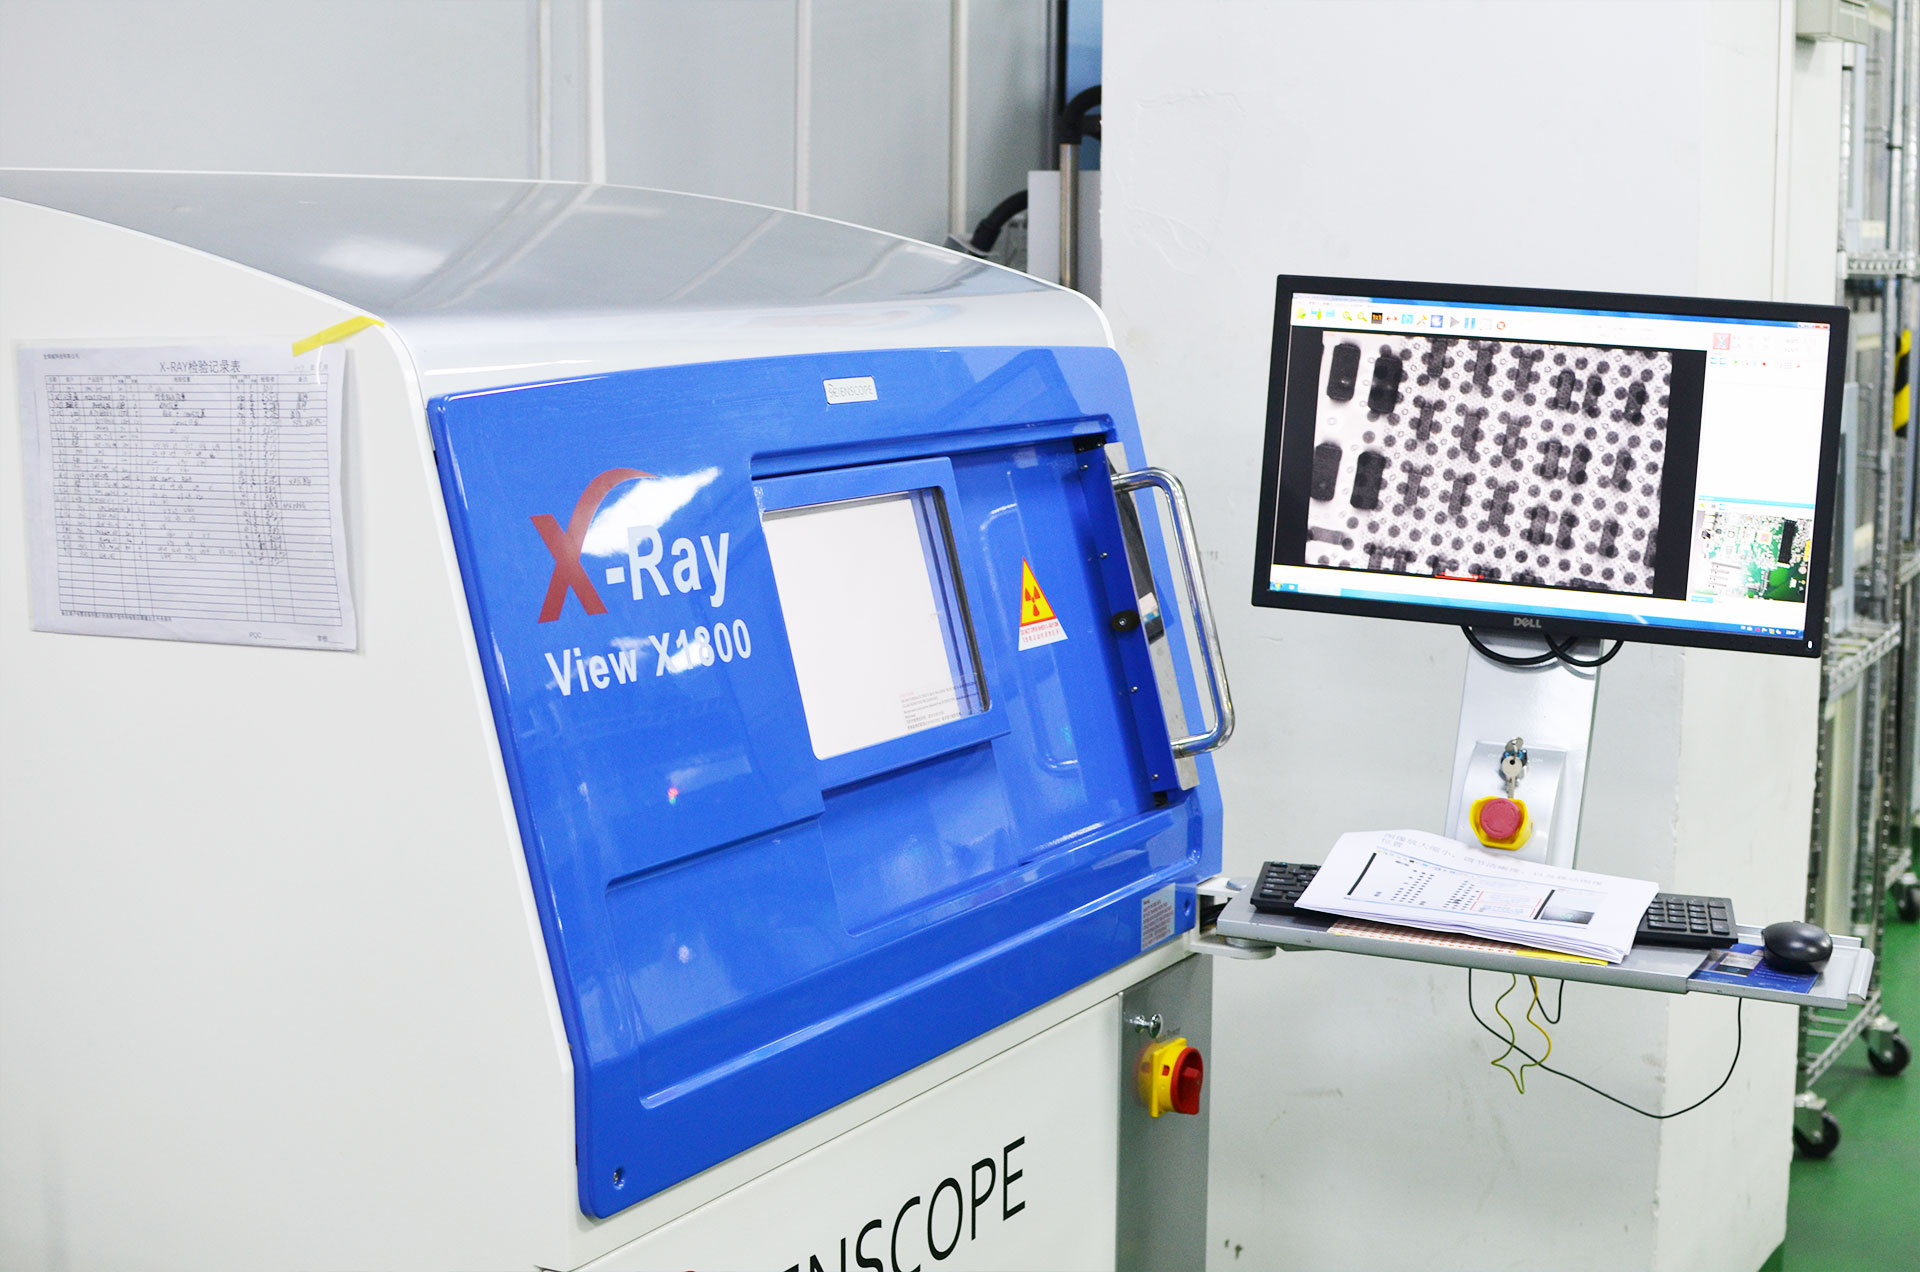
Visual Inspection
You should inspect every solder joint after cleaning. Look for shiny, smooth connections without cracks or gaps. Check that each component sits flat against the pcb. Use a magnifying glass to spot small defects. LTPCBA uses Automated Optical Inspection (AOI) systems to scan every board. AOI finds issues that you might miss with your eyes. Strict quality control at LTPCBA ensures that only boards with perfect soldering pass the final inspection.
Inspection Step | What You Check |
|---|---|
Solder Joint | Smooth, shiny, no cracks |
Component Placement | Flat, correct orientation |
Cleanliness | No flux residue |
You build robust connections by keeping solder joints clean and inspecting them carefully. This attention to detail helps your assembly last longer and perform better.
Rework and Troubleshooting
Removing Components
Sometimes you need to remove a part from your pcb during circuit board assembly. You might do this if you find a faulty component or if you need to make changes. Start by heating the solder joint with your soldering iron. When the solder melts, use a desoldering pump or desoldering braid to pull the solder away. Gently wiggle the component out of the hole. Take care not to damage the pads or traces on the board. If you work slowly, you protect the pcb from heat damage.
Tip: Always let the board cool between steps. This helps prevent lifting pads or traces.
You can use tweezers to help remove small parts. For larger components, you may need to remove one lead at a time. Practice makes this process easier and safer.
Fixing Solder Issues
You may find problems like cold joints, bridges, or incomplete connections during assembly. To fix a cold joint, reheat the area and add a small amount of fresh solder. For solder bridges, use your soldering iron and a desoldering braid to remove extra solder. Check each joint for a shiny, smooth finish. If you see a dull or cracked joint, repeat the process until it looks right.
Solder Issue | How to Fix |
|---|---|
Cold Joint | Reheat and add solder |
Solder Bridge | Remove excess with braid |
Incomplete Joint | Add more solder and reheat |
Careful troubleshooting keeps your assembly strong and reliable. You ensure your finished product meets quality standards.
Final Testing and Quality Control
Electrical Testing
You need to check every pcb for electrical performance before you finish the through hole pcb assembly process. Electrical testing helps you find problems like short circuits, open connections, or weak soldering joints. You use a multimeter to measure resistance and continuity. You can also use automated test equipment for larger batches. These tools help you confirm that each component works as expected. You test the board by applying power and checking voltage at key points. If you find any issues, you fix them before moving to the next step. Careful testing ensures your assembly meets design requirements and functions reliably.
Tip: Always record your test results. This habit helps you track quality and spot trends over time.
LTPCBA Quality Standards
You benefit from LTPCBA’s strict quality control during every stage of assembly. LTPCBA follows international standards like ISO, IATF, and UL. These standards set high expectations for safety and reliability. You see automated optical inspection and functional testing on every pcb. LTPCBA uses advanced equipment to check soldering quality and component placement. The company achieves a 99.5% pass rate in product delivery. You get peace of mind knowing your boards meet industry benchmarks. LTPCBA focuses on customer satisfaction by providing detailed reports and fast support.
Standard | What It Means for You |
|---|---|
ISO | Consistent quality |
IATF | Automotive reliability |
UL | Safety certification |
You trust LTPCBA to deliver reliable through hole pcb assembly every time.
LTPCBA Through Hole Assembly Services
Service Features
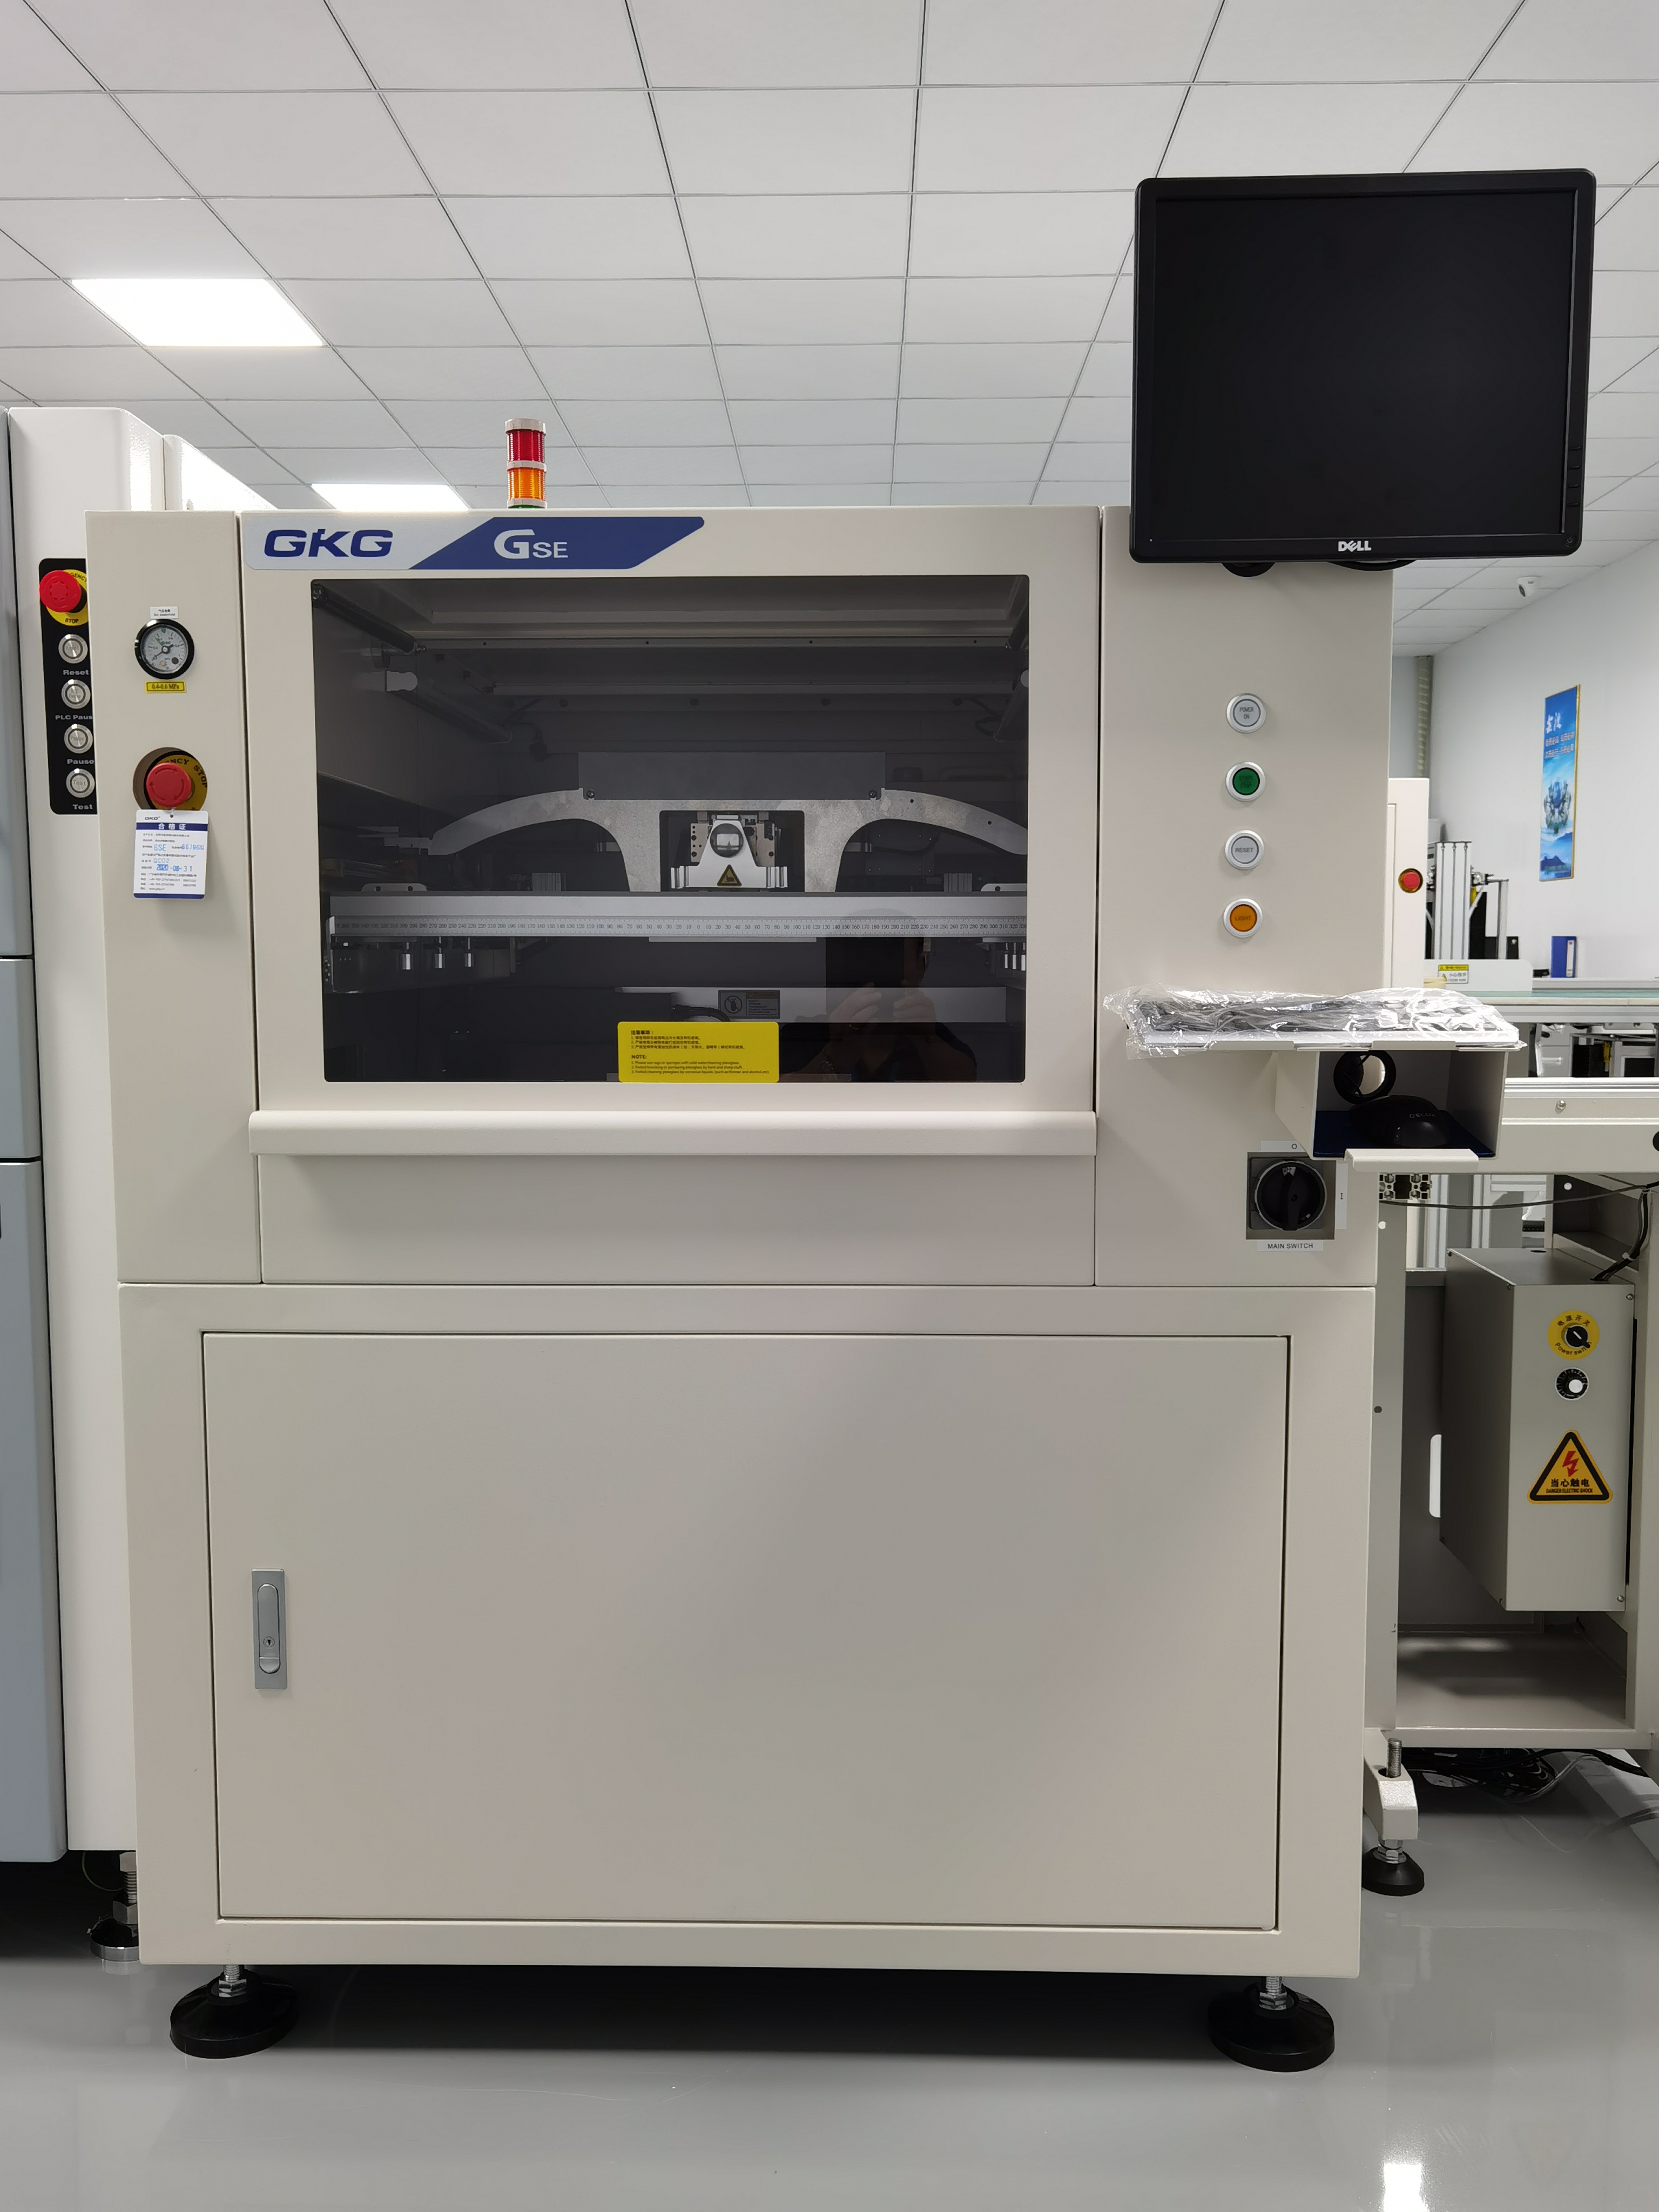
You get many advantages when you choose LTPCBA for through hole assembly services. The company uses advanced machines and skilled technicians to handle every step of the process. You see strict quality control at each stage. LTPCBA follows international standards to make sure your pcb meets your requirements. You can order prototypes or mid-volume batches with confidence. The team manages the entire assembly, from sourcing components to final inspection. You benefit from fast turnaround times and reliable delivery.
Here are some key features you receive with LTPCBA through hole assembly services:
Automated and manual insertion options
Full process traceability
AOI and functional testing for every board
Compliance with ISO, IATF, and UL standards
Support for complex and mixed-technology boards
You can trust LTPCBA to deliver consistent results for your assembly needs.
Customer Support
You always have access to helpful support when you use LTPCBA through hole assembly services. The company offers 24-hour technical assistance to answer your questions. You receive quick quotes, usually within 2-3 working days. The support team guides you through the process, from your first inquiry to the final shipment. You can ask for updates or request help with any part of your assembly project. LTPCBA values your satisfaction and works hard to solve any issues quickly.
Support Feature | What You Get |
|---|---|
24-hour assistance | Answers anytime |
Fast quotations | Quick project start |
Technical guidance | Expert advice |
You experience smooth communication and dependable service with LTPCBA through hole assembly services.
You complete through hole pcb assembly by following each step in the process. Careful preparation, precise soldering, and thorough inspection help you build a reliable pcb. LTPCBA supports your assembly needs with strong quality standards and customer satisfaction. Use this guide to achieve dependable results every time.
FAQ
What is the main benefit of through-hole PCB assembly?
You get strong mechanical bonds. Through-hole assembly works well for boards that need durability, easy repairs, or high power handling.
How does LTPCBA ensure quality in through-hole assembly?
LTPCBA uses automated inspection, strict quality checks, and follows ISO, IATF, and UL standards. You receive reliable boards with a 99.5% pass rate.
Can you use both manual and automated insertion at LTPCBA?
Yes. You can choose manual insertion for prototypes or automated insertion for larger batches. LTPCBA supports both methods for your project needs.
See Also
Ultimate Resource for Through Hole PCB Assembly Techniques
In-Depth Guide to DIP Cable and Through-Hole Connections
Choosing Between SMT and Through-Hole for Your Project