A Beginner’s Guide to PCBA Printed Circuit Board Assembly
Imagine a city map where roads connect different buildings—this is what a pcb does inside your favorite gadgets. When you add homes, parks, and lights, the city comes alive. That’s what happens in pcba printed circuit board assembly, where you place electronic parts onto a pcb to create a working device. A pcb is just the board, but a pcba printed circuit board assembly brings it to life. With the global market reaching over $69 billion in 2023, learning these skills opens many possibilities. You can start building and understanding electronics today!
Key Takeaways
PCBA turns a bare circuit board into a working electronic device by adding and soldering components.
Beginners should start with simple projects and learn basic assembly methods like through-hole and surface mount.
Using the right tools and following safety tips helps make assembly easier and protects you from harm.
Inspecting and testing your board carefully ensures it works well and lasts longer.
Choosing a reliable PCBA manufacturer with good quality control and support makes your project successful.
What Is PCBA?
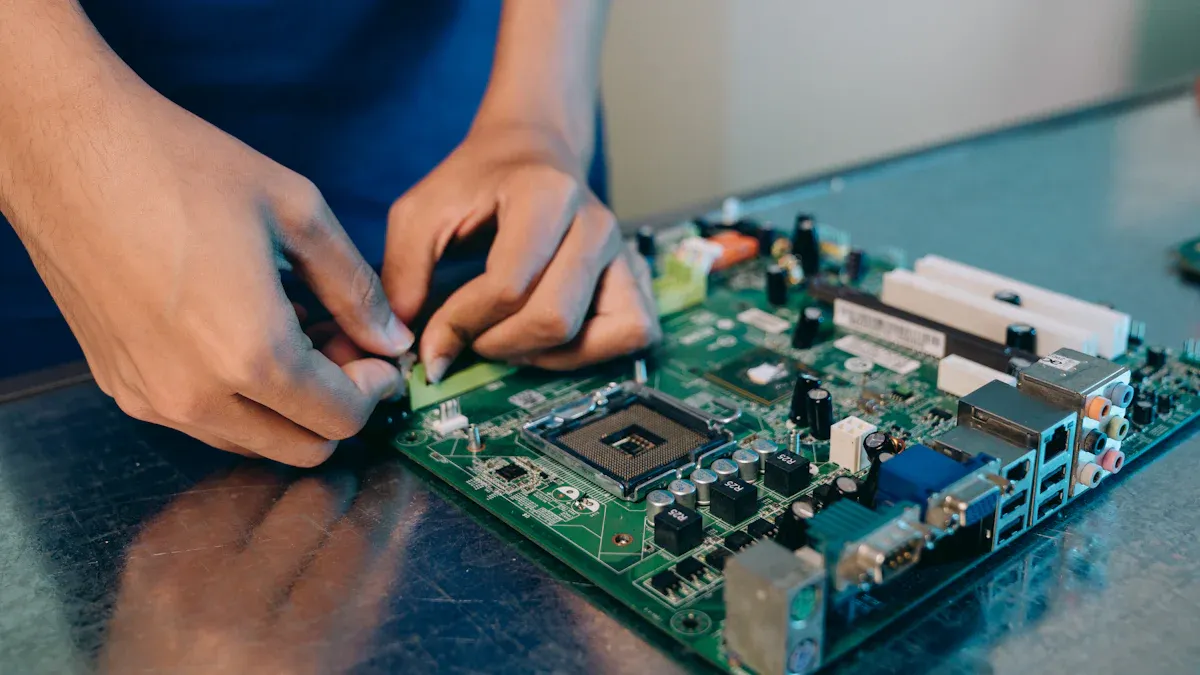
Printed circuit board assembly, or pcba, is the process that turns a simple pcb into a working electronic device. You start with a printed circuit board, which is just a flat board with copper tracks. When you add electronic parts like resistors, capacitors, and chips, you create a pcba. This process is essential in electronics manufacturing. It brings your designs to life and makes devices like smartphones, computers, and smart home gadgets work.
PCBA vs. PCB
You might wonder about the difference between a pcb and a pcba. A pcb is the bare board. It has no electronic parts, only the substrate and copper traces. A pcba is the finished product. It has all the components soldered onto the board, making it functional.
Here is a table to help you see the main differences:
Feature | PCB (Printed Circuit Board) | PCBA (Printed Circuit Board Assembly) |
|---|---|---|
Definition | Bare board without components | Fully assembled board with components installed |
Functionality | No functionality on its own | Functional electronic circuit |
Components | Only substrate and copper layers | Includes resistors, capacitors, ICs, and more |
Manufacturing Stage | Early stage in production | Final or near-final stage |
Use | Platform for component assembly |
Tip: Always remember, a pcb is the foundation, but pcba printed circuit board assembly is what makes your device work.
Key Concepts
Before you start with pcba, you should understand some important ideas:
Difference between PCB and PCBA: A pcb is just the board. A pcba is the board with all the parts attached and working.
Types of PCBA:
Surface Mount Technology (SMT): You place parts directly on the surface of the pcb. This method works well for small, complex devices.
Through-Hole Technology (THT): You insert parts through holes in the board. This gives strong connections.
Mixed Technology: You use both SMT and THT for different needs.
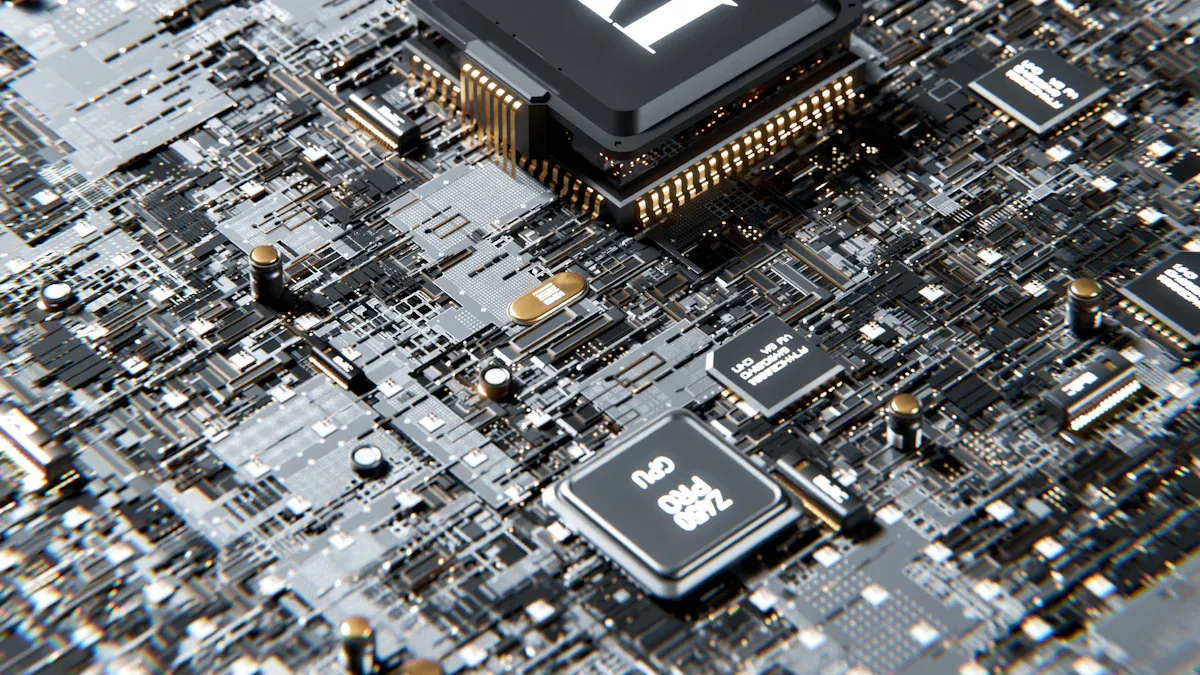
Importance of PCBA: The pcba is the heart of every electronic device. It affects how well your device works and how long it lasts.
Choosing a PCBA Provider: Look for experience, certifications, good testing, and support for design and prototypes.
When you learn about pcba, you gain the skills to build and understand modern electronics. This knowledge helps you create, repair, or even invent new devices.
Why PCBA Printed Circuit Board Assembly Matters
Applications for Beginners
You can start your journey in electronics with many beginner-friendly circuit board assembly projects. These projects help you learn how to bring ideas to life using pcba printed circuit board assembly. Here are some popular options:
Drones: Build and control your own flying device.
Personal computers: Assemble the main board for a custom PC.
Robots: Create and program simple robots for fun or learning.
Motion sensors and home security: Make devices that detect movement or sound alarms.
Automated home systems: Control lights or thermostats with your own circuit board assembly.
Wearable technology: Design gadgets you can wear, like step counters or smartwatches.
You can also try simple circuits such as amplifiers, alarms, lighting controls, charging circuits, and temperature monitors. Many beginners use platforms like Arduino or Raspberry Pi to make smart home devices. For example, you might build a smart light controller or a temperature monitor. These projects teach you the basics of pcba and give you hands-on experience with assembly.
Tip: Start with small projects. As you gain confidence, you can move on to more complex circuit board assembly tasks.
Benefits of Learning PCBA
Learning pcba printed circuit board assembly gives you valuable skills for the electronics industry. You will understand how to read diagrams, select materials, and use different assembly techniques. Each step in the circuit board assembly process—fabrication, component placement, soldering, and inspection—directly affects how well your device works.
You will learn to choose quality materials and use precise fabrication methods, which improve device performance.
You will practice placing components accurately, which helps your circuits work efficiently.
You will master soldering techniques like SMT and THT, making your connections strong and reliable.
You will use inspection and testing methods to catch problems early, ensuring your circuit board assembly is dependable.
You will also gain knowledge about industry standards, quality control, and testing methods. These skills help you design and build reliable devices, whether for personal projects or future careers.
Essential Tools and Materials
Basic Tools
You need the right tools to assemble a printed circuit board at home. Start with small wire cutters and pliers. These help you trim and bend component leads. A soldering iron is essential for joining parts to the board. Choose one rated between 15 and 30 watts for electronics work. Replaceable tips of different sizes make it easier to handle various components. For surface mount devices, a hot air soldering station works best.
Magnifiers and a bright work light help you see small details. Use a dental probe to adjust or check connections. A volt/ohm meter lets you test circuits and find problems. An anti-static mat with a wrist strap protects sensitive parts from static electricity. Solder removal tools help you fix mistakes. Keep a damp sponge nearby to clean your soldering iron tip.
Tip: Organize your workspace before you begin. This makes assembly faster and safer.
Common Components
You will use many types of electronic parts in beginner PCBA projects. Here are the most common:
Resistors: Control current flow and are marked with color codes.
Capacitors: Store and release electric charge. Types include electrolytic and ceramic.
Inductors: Store energy in magnetic fields and help filter signals.
Transistors: Switch and amplify signals.
Diodes: Allow current to flow in one direction.
Batteries: Supply power to your circuit.
Integrated Circuits (ICs): Perform complex functions in a small package.
Oscillators: Create timing signals.
Switches/Relays: Control the flow of electricity.
Potentiometers: Adjust voltage or current.
Sensors: Detect changes in the environment.
Component | Function |
|---|---|
Resistor | Limits current |
Capacitor | Stores charge |
Inductor | Filters signals |
Transistor | Switches/amplifies signals |
Diode | Directs current flow |
Battery | Powers the circuit |
IC | Complex processing |
Safety Tips
Safety matters when you work with PCBA. Always solder under an exhaust hood to control fumes. Wear safety glasses and gloves to protect your eyes and skin. Disconnect power sources before you start. Discharge capacitors to avoid electric shock. Clean surfaces with wipes made for heavy metals. Use HEPA filters to keep dust out of the air.
Store chemicals safely and follow EPA guidelines for disposal. Inspect your tools and equipment often. Keep your workspace clean and organized. Train yourself on emergency procedures and know how to respond if something goes wrong.
Note: Good safety habits protect you and your projects. Always follow recommended precautions.
Circuit Board Assembly Techniques
Through-Hole Assembly
Through-hole assembly is one of the oldest methods in circuit board assembly. You insert component leads into holes drilled through the board, then solder them on the opposite side. This technique gives you strong mechanical bonds, making your projects more durable and reliable. You can easily handle and solder these larger components, which helps when you start learning circuit board assembly. If you make a mistake, you can remove and replace parts with basic tools. This method works well for prototyping and hands-on projects.
Easy to handle and solder by hand.
Simple to repair or swap out parts.
Good for learning and debugging.
Disadvantages:
Manual work takes more time.
Larger parts limit compact designs.
Costs more due to extra materials and labor.
Surface Mount Assembly
Surface mount assembly uses smaller components that sit directly on the board’s surface. You place these parts using solder paste and then heat the board in a reflow oven. This process allows for high-speed, automated circuit board assembly. You can fit more parts into a smaller space, which is perfect for modern devices like smartphones and laptops. Surface mount assembly improves electrical performance because the leads are shorter, reducing unwanted signals.
Key benefits:
High component density for compact designs.
Fast, automated assembly lowers labor costs.
Better electrical performance for high-frequency circuits.
Suitable for mass production and both sides of the board.
Tip: Surface mount assembly is the standard for most modern circuit board assembly projects.
Mixed Technology
Mixed technology combines both through-hole and surface mount assembly on the same board. You might use through-hole parts for connectors or large power devices and surface mount parts for smaller, delicate components. This approach helps you meet design needs when you want both strength and compactness in your circuit board assembly. Mixed technology is common in products that need to handle stress, heat, or have special connectors.
You often see mixed technology in:
Power supplies and industrial equipment.
Devices with both small chips and large connectors.
Prototypes that need flexibility and easy changes.
This hybrid method lets you get the best of both worlds in your circuit board assembly, balancing reliability, performance, and cost.
Aspect | Through-Hole Assembly | Surface Mount Assembly |
|---|---|---|
Inserted into holes and soldered on the opposite side | Mounted directly onto the board surface and soldered to pads | |
Component Size | Larger components | Smaller components for higher density |
Assembly Process | Manual soldering | Automated pick-and-place and reflow ovens |
Repairability | Easy to repair or replace | Needs special tools for removal and replacement |
Reliability | Strong mechanical mounting, resists stress | Less mechanical strength, but improving with new techniques |
Space and Weight | Good for high power and prototyping | Ideal for small, lightweight, high-density designs |
Step-by-Step PCBA Process
Preparing the Workspace
You need a clean and organized workspace before you begin the pcba assembly process. Start by choosing a well-lit area with bright, even lighting. Good visibility helps you spot small details and reduces mistakes. Set up proper ventilation or use a fume extractor to remove soldering fumes and keep the air safe. Place your equipment on a stable, vibration-free surface. This keeps your tools steady and improves precision during assembly.
Arrange your tools, components, and documentation in designated spots. This organization prevents clutter and accidents. Use anti-static mats and wrist straps to protect sensitive pcb components from electrostatic discharge. Always wear safety glasses to shield your eyes from solder splatter. Keep a fire extinguisher rated for electrical fires and a first-aid kit nearby. Label hazardous areas, especially those with high voltage or chemicals, to alert and protect yourself.
Inspect your pcb for cleanliness and proper alignment of pads and traces. Check the solder mask to make sure it covers all areas except the contact points for soldering. Verify the integrity and compatibility of all components before installation. Handle components by their edges and store them in anti-static containers when not in use. Take regular breaks to maintain focus and reduce fatigue.
Tip: A well-prepared workspace makes the pcba assembly process safer and more efficient.
Soldering and Placement
You must understand the pcb diagrams and schematics before starting the assembly process. These diagrams show where each component goes and how they connect. Accurate placement ensures your printed circuit board works as designed.
Begin by applying solder paste to the pcb pads. You can use a stencil that matches the board dimensions. Spread the solder paste evenly with a squeegee or knife edge. This step ensures the paste only covers the areas where components will be mounted. Clean stencils regularly to prevent defects like bridging or open joints.
Next, place the components on the solder paste. For surface mount devices, use a pick and place machine for speed and precision. The machine picks components from packages using vacuum nozzles and places them on the paste-covered pads at programmed positions. Manual placement with tweezers works for small projects or prototypes.
After placement, move to reflow soldering. Use a reflow oven with multiple temperature zones: preheat, soak, reflow, and cooling. The oven heats the board to activate the flux, melt the solder, and bond the components to the pcb. Monitor and optimize the temperature profile to avoid defects like tombstoning, voids, or solder balling. For double-sided boards, solder components on each side sequentially with careful temperature control. Hand solder heavier components like transformers or connectors to prevent warpage.
Note: Proper soldering and placement are critical for reliable pcba assembly.
Inspection and Testing
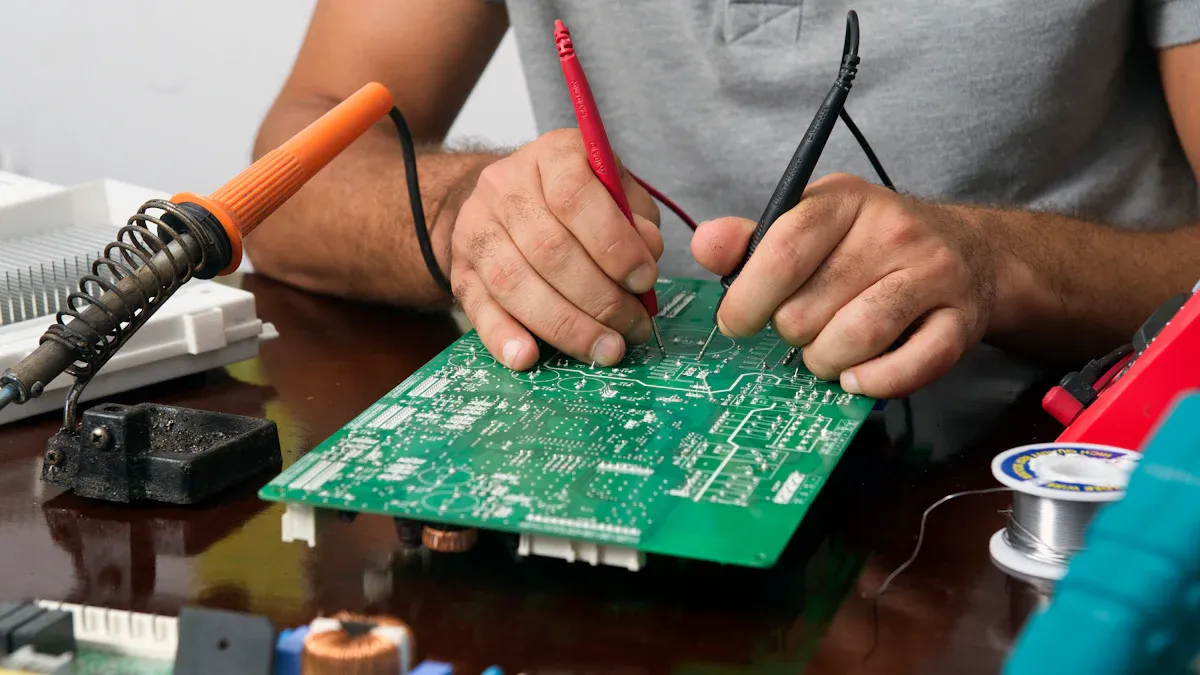
You must inspect and test your pcba after assembly. Start with manual visual inspection. Use magnifying glasses or microscopes to check for missing components, soldering defects, and misaligned parts. Automated Optical Inspection (AOI) uses cameras and software to compare your board to a reference image. AOI detects solder bridges, misplaced components, and other defects quickly and consistently.
For complex boards, use X-ray inspection to view hidden solder joints and internal layers. This method is important for high-density designs and components like BGAs. In-circuit testing (ICT) uses electrical probes to check every node for open circuits, shorts, and faulty components.
Functional testing is the final testing step. Develop a test plan based on your pcb’s design and intended application. Use a test fixture with power supplies, signal generators, and measurement devices like oscilloscopes and multimeters. Simulate real-world conditions to verify power supply functionality, signal integrity, and communication protocols. Analyze test data and generate reports to identify failures or discrepancies. Provide feedback for corrective actions if needed.
Tip: Inspection and testing ensure your pcba meets quality standards and works as intended.
Choosing a PCBA Manufacturer
What to Look For
Selecting the right pcba manufacturer helps you avoid common problems and ensures your project succeeds. You should focus on several important criteria when making your choice:
Check for ISO 9001 certification. This shows the manufacturer uses a strong quality management system.
Look for thorough quality control processes, such as automated optical inspection and functional testing.
Choose a manufacturer with excellent customer support. Responsive technical teams and multiple communication channels make your experience smoother.
Consider quick-turn production capabilities. Fast turnaround times help you meet tight deadlines.
Request detailed quotes. Transparent pricing lets you understand all costs before you start.
Review reputation and customer feedback. Consistent performance and service quality matter.
Make sure the manufacturer can handle your project’s volume and technical needs, including layer count and materials.
Evaluate equipment quality and the ability to assemble complex boards.
Prioritize manufacturers who support prototypes or small batch orders and offer strong technical help.
You should also check for certifications that prove reliability and safety. The table below shows key certifications and their importance:
Certification | Importance for PCBA Manufacturer |
|---|---|
ISO 9001 | Ensures consistent product quality and continuous improvement. |
UL Certification | Confirms safety standards for electrical and fire hazards. |
IATF 16949 | Meets automotive industry requirements for defect prevention and process improvement. |
IPC Certification | Demonstrates adherence to industry best practices in pcba assembly and quality control. |
LTPCBA Advantages
LTPCBA stands out as a top choice for your pcba needs. You benefit from advanced inspection technologies, including Automated Optical Inspection (AOI) with AI, X-ray inspection, and electrical testing methods like In-Circuit Testing (ICT) and Functional Testing (FCT). These tools catch defects early and ensure high reliability.
LTPCBA follows strict quality assurance measures. You see rigorous process controls, Design for Manufacturability reviews, and strong Electrostatic Discharge protection. Solder Paste Inspection (SPI) and compliance with IPC standards add another layer of confidence. Environmental stress testing and burn-in testing validate durability.
You get comprehensive documentation and real-time production tracking. LTPCBA uses eco-friendly packaging and maintains traceability for every component. The company sources parts only from authorized distributors, preventing counterfeit issues.
LTPCBA holds certifications such as ISO, IATF, and UL. The company reports a 99.5% pass rate for assembled circuit boards. You receive quick responses, detailed quotations, and 24-hour technical support. These strengths make LTPCBA a reliable partner for beginners and professionals working on pcba projects.
Quality in PCBA
Inspection Methods
You need to use several inspection methods to ensure your pcb assembly meets high standards. Each method checks for different types of defects and helps you catch problems early. Manual visual inspection lets you spot obvious issues like missing or misaligned components, solder bridges, or pad contamination. This method works best for small batches or prototypes.
Automated Optical Inspection (AOI) uses cameras and software to scan your pcb for surface defects. AOI quickly finds missing, reversed, or incorrect components and soldering problems. For boards with hidden solder joints, such as those under BGAs, X-ray inspection becomes essential. X-rays reveal internal flaws and hidden defects that you cannot see with the naked eye.
Many manufacturers now use AI-based inspection systems. These systems, like those using improved YOLOv5 models, can detect multiple defect types in real time. They offer high accuracy and speed, making them ideal for modern production lines.
Here is a comparison of common inspection methods:
Inspection Method | Focus Area | Best Use Case |
|---|---|---|
Manual Visual Inspection | Surface defects, misalignment | Prototypes, small batches |
AOI | Surface defects, missing components | High-volume, post-reflow inspection |
X-ray Inspection | Hidden solder joints, internal flaws | High-density, complex boards |
AI-based Inspection | Multiple defect types, real-time detection | Automated, scalable production |
Tip: Combining several inspection methods gives you the best coverage and helps you maintain high quality in every pcb.
Ensuring Reliability
You want your printed circuit board assemblies to last and perform well. Start by selecting high-quality materials that match your application. Good materials prevent solder joint failures and conduction issues. Follow strict pcb design rules, such as proper wiring width, spacing, and heat dissipation. These steps improve both electrical and mechanical stability.
Keep your manufacturing processes consistent. Pay attention to drilling, electroplating, etching, and surface treatments. Reliable assembly processes, including advanced testing during assembly, help you catch and fix defects early.
You should also test your pcb under real-world conditions. Use thermal cycling to simulate temperature changes and check for solder joint cracks. Damp heat tests show how your board handles high humidity. Salt spray tests measure corrosion resistance, which is important for harsh environments.
Start reliability testing early to verify electrical integrity.
Use AOI and electrical testing methods like bed-of-nails or flying probe systems for high test coverage.
Partner with manufacturers who review your design for manufacturability and validate netlists.
Following industry standards, such as IPC-A-610 and IPC-J-STD-001, ensures your assembly meets global quality benchmarks. These standards guide you in best practices for design, assembly, and testing, helping you deliver reliable and competitive products.
Note: Reliable pcb assemblies come from careful design, strict process control, and thorough testing at every stage.
Getting Started with LTPCBA
How to Begin
You can start your first PCBA project with LTPCBA in a few simple steps. Visit the official website at www.ltpcba.com. Create an account and log in. Prepare your project details, including your design files and a Bill of Materials (BOM). LTPCBA provides a step-by-step BOM creation guide. You list each component, add descriptions, organize them, and include supplier information. You can use digital tools to make this process easier.
Upload your files and request a quotation. LTPCBA responds quickly, usually within 2-3 working days. You receive a clear price and timeline. If you have questions, you can contact the technical support team. They are available 24 hours a day. You get help with design, sourcing, and assembly. LTPCBA manages component ordering and delivery, so you save time and avoid mistakes.
Tip: Organize your BOM and project files before you upload them. This helps LTPCBA give you accurate quotes and fast service.
Support and Resources
LTPCBA offers essential resources for assembling circuit boards. You get advanced technology and digital management tools. These systems reduce errors and ensure accurate sourcing. LTPCBA follows strict quality standards like ISO and UL. You benefit from reliable performance metrics, including a 12-hour production cycle, 95% first pass yield, and 97% on-time delivery rate.
You can see the support and resources in the table below:
Support/Resource Type | Description |
|---|---|
Streamlined Component Sourcing | LTPCBA orders and delivers parts for you, saving time and effort. |
Advanced Technology | Automated systems reduce mistakes and improve accuracy. |
Reliable Performance Metrics | Fast production cycles and high delivery rates. |
24-Hour Support | You get help any time and quick quotes for your project. |
Quality Standards | International certifications ensure high-quality results. |
BOM Creation Guide | Detailed instructions help you organize and manage your components. |
Digital Tools | Software helps you track and update your BOM and project status. |
You can reach out for help at any stage. LTPCBA’s team answers questions and solves problems quickly. You get guidance on optimizing your BOM, sharing data, and building strong partnerships. These resources make your first PCBA project easier and more successful.
You can achieve successful circuit board assembly by mastering basic design principles and learning how to test and troubleshoot your work. Start with small projects and build your skills step by step. LTPCBA supports you with advanced technology and expert guidance.
Use simulation tools to validate your designs.
Practice teamwork and communication.
Explore resources like the Design for Manufacturing Handbook and Cadence blogs to keep learning.
FAQ
What is the difference between SMT and through-hole assembly?
Surface Mount Technology (SMT) places components directly on the board’s surface. Through-hole assembly inserts component leads into holes. SMT works best for small, dense boards. Through-hole gives strong connections for larger parts.
How do you read a PCB schematic?
You look for symbols that represent components. Lines show connections. Each part has a label. You match the schematic to the board layout. Practice helps you understand the symbols and flow.
Why is inspection important in PCBA?
Inspection helps you find mistakes early. You check for missing parts, bad solder joints, and misaligned components. Good inspection improves reliability and reduces failures in your finished device.
Can you assemble a PCB at home?
You can assemble simple PCBs at home. You need basic tools like a soldering iron, tweezers, and wire cutters. Start with small projects. Follow safety tips to protect yourself and your components.
What support does LTPCBA offer for beginners?
LTPCBA gives you a BOM guide, quick quotes, and 24-hour technical support. You get help with design, sourcing, and assembly. The team answers questions and guides you through each step.
See Also
Complete Overview of PCBA Production Steps for All Levels
Essential Tips for Newcomers on PCBA BOM Procurement
Understanding PCBA: Key Parts and Their Functions Explained