How to Avoid Common Mistakes in BGA Assembly
Errors in BGA assembly can cause bad products and expensive fixes. Focus on good preparation, soldering, and checking to do it right. A flat PCB surface, careful soldering, and detailed checks lower problems. When you improve each step, your BGA parts work well every time.
Key Takeaways
Keep the PCB surface smooth and clean for better soldering.
Store BGAs in airtight bags with packets to absorb moisture.
Use correct heating and cooling steps to protect parts and solder.
Common Mistakes in BGA Assembly Preparation
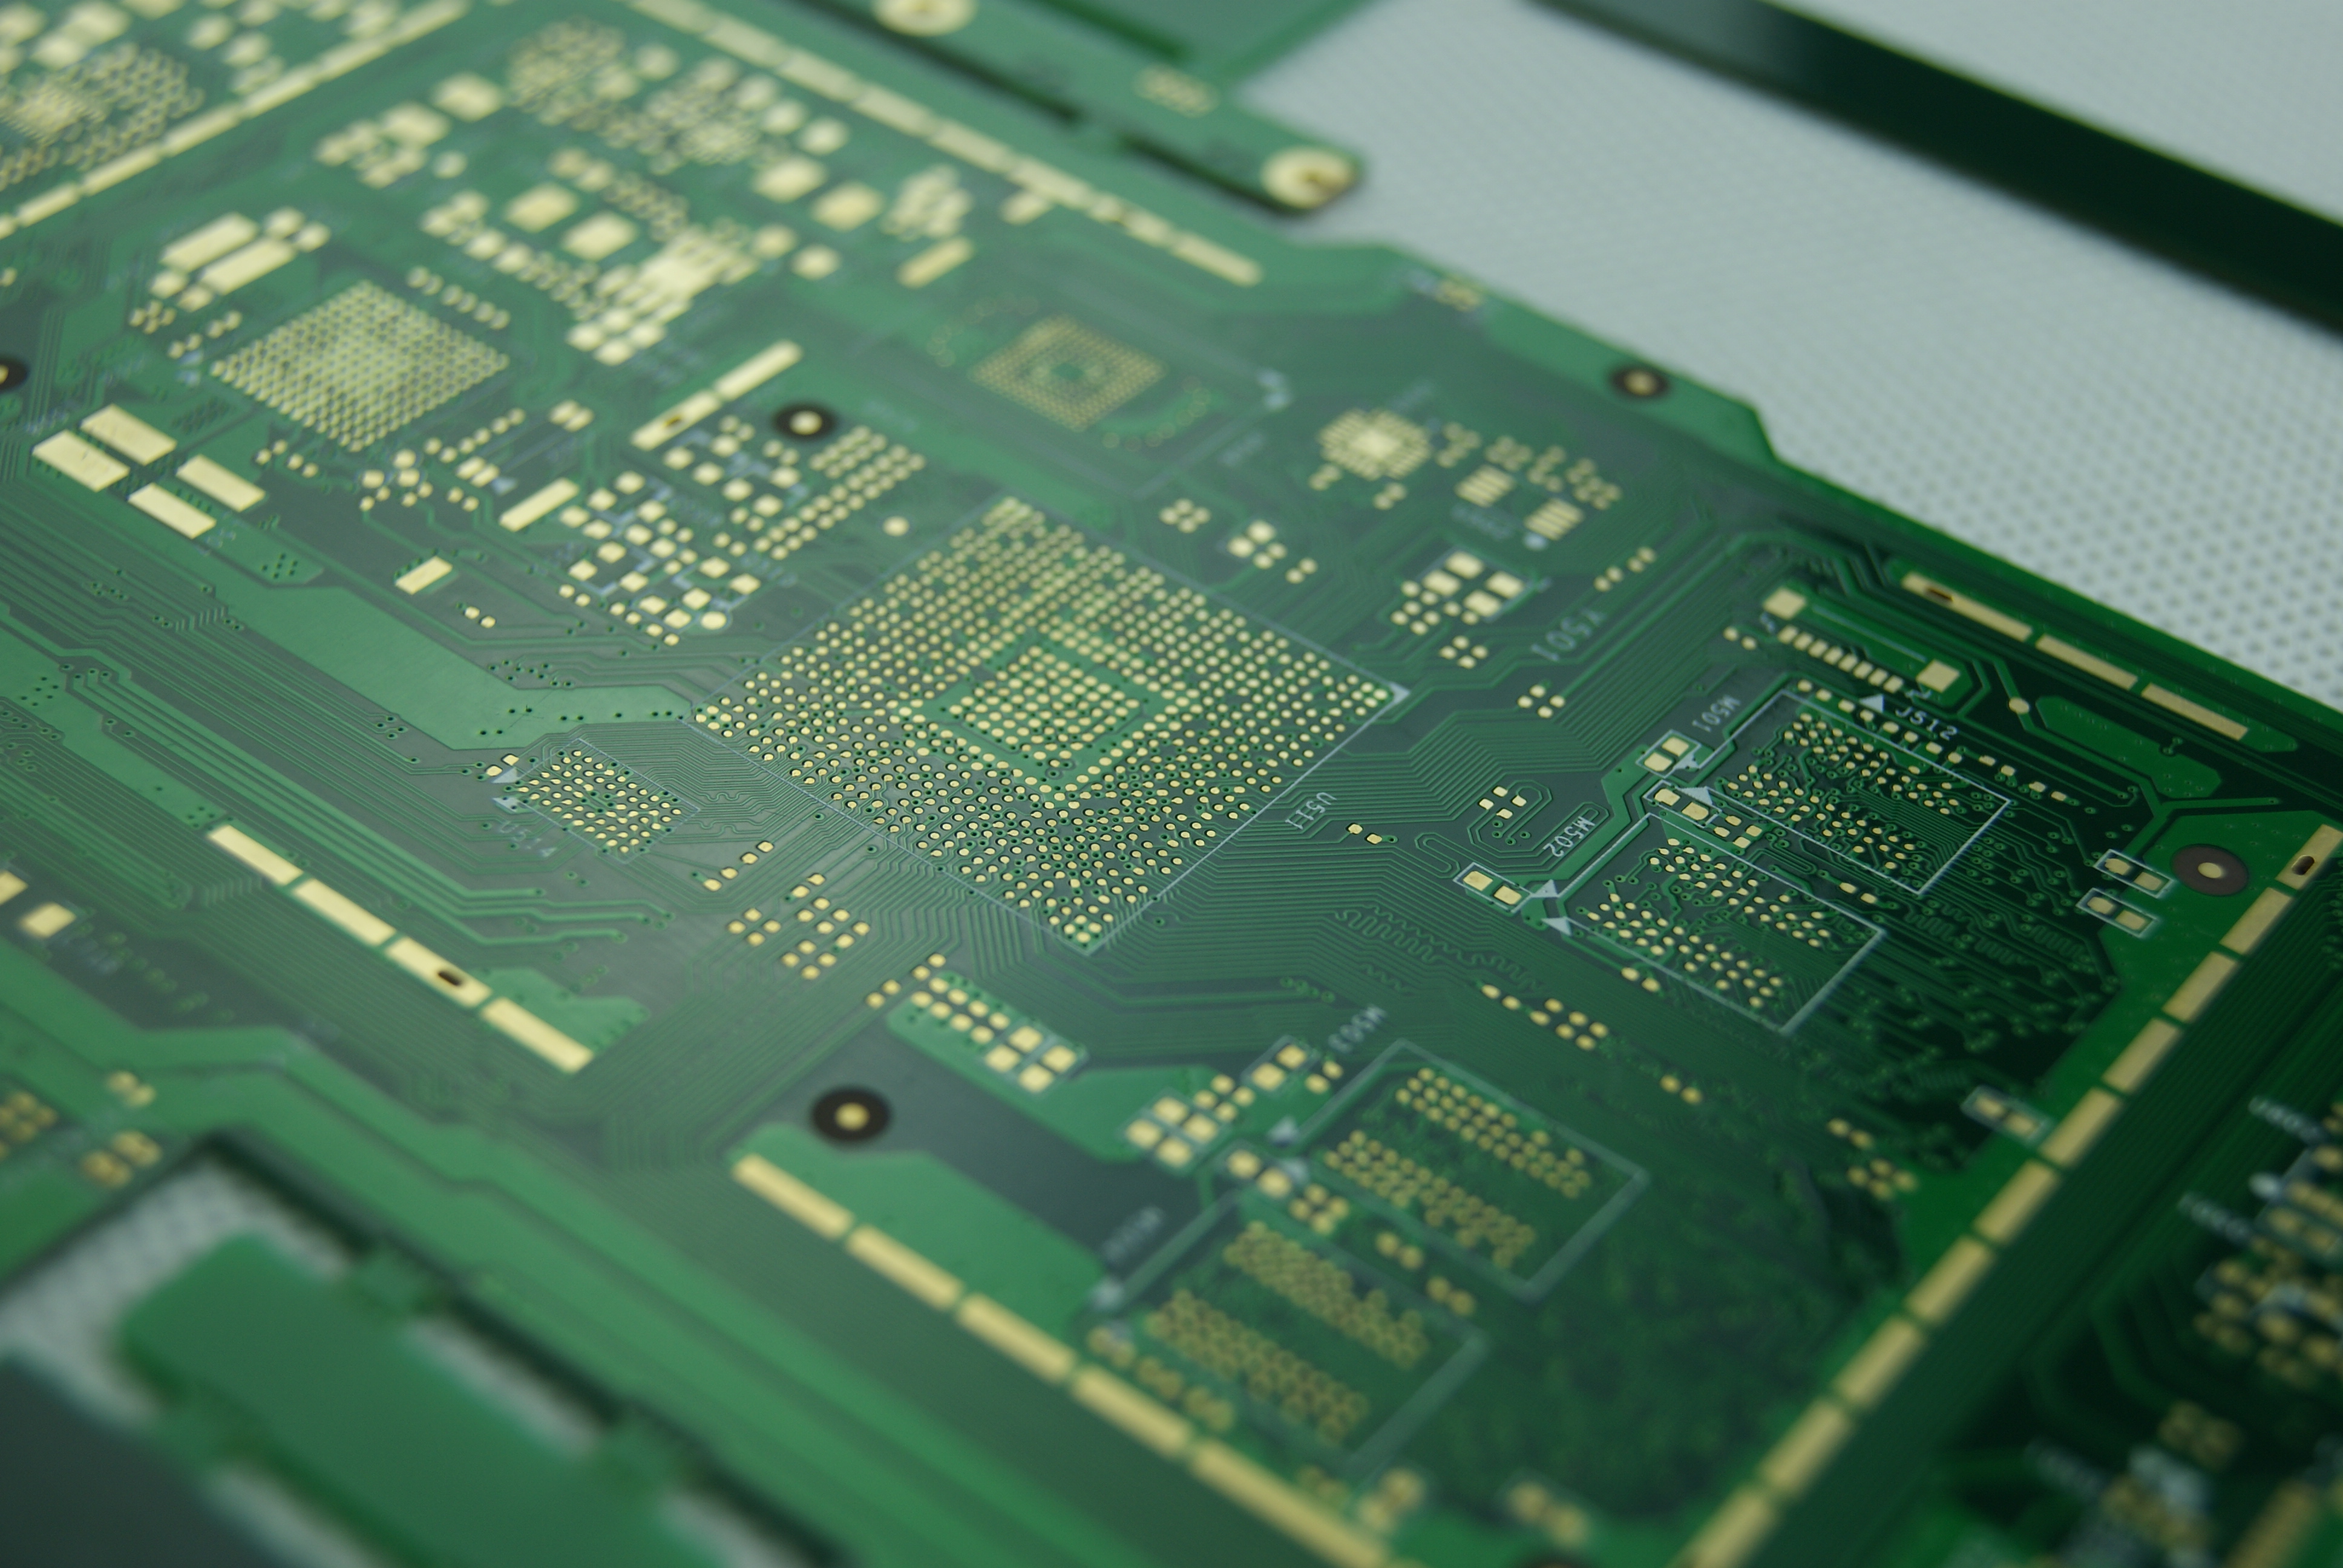
Ensuring Proper PCB Surface Finish
A good PCB surface is key for BGA assembly. The surface must be smooth and free of cracks or damage. Problems like these can weaken solder joints and make the assembly less stable. Solder joints on BGAs face more stress than other parts. This makes having a good surface even more important.
Checking the surface early helps find and fix issues. It also gives useful data for keeping quality consistent. By focusing on the surface finish, you can avoid problems and make your BGA assembly work better.
Best Practices for Storing BGAs
Storing BGAs the right way keeps them safe and reliable. These parts can absorb moisture, which causes problems during soldering. To stop this, store BGAs in sealed bags with moisture-absorbing packets.
Avoid these common storage mistakes:
Not using sealed bags or moisture packets.
Keeping BGAs in damp places.
Ignoring the expiration date of the parts.
Workers need proper training to handle and store BGAs. Without training, they might damage the parts or make them dirty. Following these tips will keep your BGAs ready for use.
Importance of Baking and Cleaning Steps
Baking and cleaning are important steps before using BGAs. BGAs can soak up moisture, which may cause cracks during soldering. Baking removes this moisture and makes the assembly stronger.
Cleaning Method | Baking Needed | Notes |
|---|---|---|
Airknifes | Often needed | May leave some moisture behind. |
Convection/Radiant Heat | Rarely needed | Dries more completely. |
Bake BGAs at low heat to remove moisture and air pockets. This is especially needed if you use airknife cleaning, as it might leave moisture. Cleaning also removes dirt that could mess up soldering. Doing these steps well improves the strength and performance of your BGA assembly.
Avoiding Mistakes During BGA Soldering
Using the Right Preheating Methods for BGA Soldering
Preheating is important to make BGA soldering successful. It prevents sudden temperature changes and spreads heat evenly. Without preheating, parts can get damaged or solder joints may weaken.
To preheat correctly, use a system that heats up slowly. Do not heat too fast, as it can bend or crack the PCB. Keep the temperature within the range recommended in your BGA design rules. This helps the solder paste melt evenly during reflow soldering.
Watch the preheating process carefully. Tools like infrared thermometers or thermal cameras can help you keep temperatures steady. Following these steps reduces mistakes and makes your assembly more reliable.
Controlling Thermal Profiles for Better Results
Managing heat levels is key to making strong solder joints. The thermal profile shows how heat is applied during soldering. It directly affects how well your BGA works.
To get the best results, focus on heating, soaking, and cooling stages. Each stage needs specific time and temperature settings. For example, during heating, raise the temperature slowly to avoid stress. In the soaking stage, keep the temperature steady to prepare the solder paste.
Research shows the benefits of good thermal profiles:
Lifton et al. (2018) found less than 10% voids with better soldering.
Ulzhöfer (2013) showed vacuum systems reduced voids to below 1%.
Dziurdzia et al. (2018) found vapor phase soldering lowered voids a lot.
These studies prove that adjusting thermal profiles reduces defects. It also makes your BGA assembly last longer.
Cooling Properly After Soldering
Cooling is the last step in soldering but just as important. Good cooling helps solder harden properly, creating strong joints. Cooling too fast can cause cracks or stress in the solder or PCB.
To cool correctly, use a system that lowers the temperature slowly. Do not move the assembly to a cold place right after soldering. Sudden cooling can cause uneven results and weak joints.
Check the cooled assembly for problems like cracks or voids. Automated optical inspection (AOI) tools can quickly find these issues. By focusing on proper cooling, you ensure your BGA assembly stays strong and reliable over time.
Post-Assembly Quality Control for BGA Assembly
Effective Inspection Methods for BGAs
Checking BGAs is important to make sure they work well. Tools like X-ray inspection can find hidden problems. These include voids, solder bridges, and misaligned parts. X-rays are great for checking solder joints under BGAs that you can't see. Automated Optical Inspection (AOI) is another helpful tool. It checks the shape, size, and surface of solder joints. This ensures parts are placed and soldered correctly. For small projects or prototypes, trained workers can inspect by hand. They may spot issues that machines might miss.
Inspection Method | Key Features | Why It Matters |
|---|---|---|
X-ray Inspection | - Looks inside components and PCB layers | - Finds hidden problems like voids and solder bridges |
- Checks solder joints under hard-to-see areas | - Ensures proper placement and soldering | |
Automated Optical Inspection (AOI) | - Examines solder joint size, shape, and surface | - Confirms correct solder joint formation |
Manual Visual Inspection | - Done by skilled workers using magnifying tools | - Adds a human touch to quality checks |
Using these methods together helps catch mistakes and ensures great results.
Rework Techniques for Defective BGAs
Fixing bad BGAs needs careful steps to make them work again. First, remove the broken BGA chip with a hot air tool. Then, clean the PCB pads to get rid of old solder and dirt. Add new solder balls to the BGA chip to fix connections. Finally, place the chip back on the PCB and solder it using heat.
Main Rework Steps:
Use magnifying tools to check solder joints and alignment.
X-ray inspection ensures hidden solder joints are solid.
Test the board for electrical connections and resistance.
Run functional tests to confirm the board works properly.
Good tools and training for workers improve repair results. These steps keep your BGA assembly strong even after fixing.
Maintaining Quality Control Standards with LTPCBA
Following strict rules keeps your BGA assembly working well. Important measures like First Pass Yield (FPY) and Defective Parts per Unit (DPU) track success. For example, an FPY of 95% or more saves money and boosts efficiency. LTPCBA is great at meeting these standards. They have a scrap rate as low as 2% and fulfill up to 98% of orders.
Metric | Typical Range |
|---|---|
Order Fulfillment Rate | 90% to 95% (up to 98%) |
Scrap Rate | Below 5% (as low as 2%) |
First Pass Yield (FPY) | 95% to 98% |
Working with LTPCBA ensures your PCB meets top standards like ISO and UL. Their skill in BGA design and soldering gives you high-quality results. They are a reliable choice for your PCB needs.
Good BGA assembly needs careful planning, accurate soldering, and detailed checks. Each step helps reduce mistakes and makes the assembly work well.
Use new solder paste and place it carefully to avoid bridges.
Dry PBGA parts at 100°C for 6-8 hours to remove water.
Create a heat plan that melts solder evenly and fully.
Check solder mask quality and make sure PCB pads are even for BGAs.
Checking is important to find soldering problems and ensure strong connections. It stops bad parts from being sent out and improves assembly quality.
LTPCBA is great at BGA assembly because they use advanced tools and follow strict rules. Their skills make sure PCBs are reliable and high-quality. By following these tips and working with LTPCBA, you can succeed in your projects every time.
FAQ
What does automated optical inspection do in BGA assembly?
Automated optical inspection finds problems like solder bridges or misaligned parts. It helps catch mistakes early, ensuring good quality in the process.
How do fast digital interfaces impact BGA assembly?
Fast digital interfaces need exact soldering and careful checks. Good heat control and inspections make sure connections work well for these technologies.
Is it possible to fix bad BGAs without harming the PCB?
Yes, you can fix bad BGAs using heat tools and cleaning. With proper training and tools, the PCB stays safe during repairs.
See Also
Essential Strategies for Successful BGA Assembly Techniques
Key Technical Considerations for SMT Assembly with VIPPO
Understanding DIP Assembly and Through-Hole Specifications